
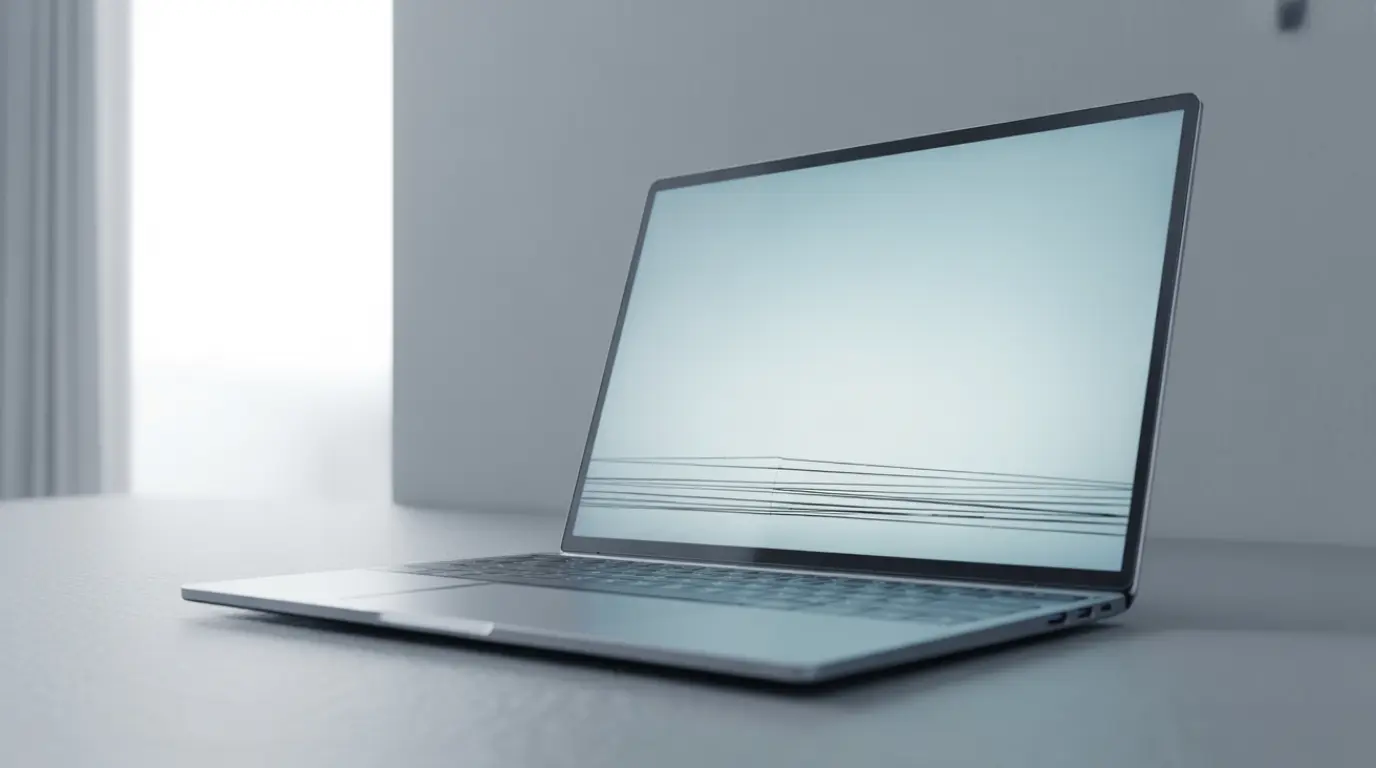
Black lines at the bottom of a MacBook Pro screen are most commonly caused by a worn-out display cable (Flexgate) on 2016–2019 models, a macOS graphics bug, or physical LCD damage. Try a screenshot test first if the lines don’t appear in the screenshot, it’s hardware. If they do appear, it’s software.
Most people notice it on a Monday morning. The MacBook opens fine, then a thin black stripe appears right at the bottom of the screen sometimes one line, sometimes a cluster. A few days later there are two lines. A week later, three. By the time most users search for answers, the lines are spreading upward and the screen is becoming unusable.
The problem is almost always one of four things. The good news is that two of them cost nothing to fix. Here’s how to figure out which one you’re dealing with and what to do about it.
Why Does This Keep Happening? Understanding the Real Causes
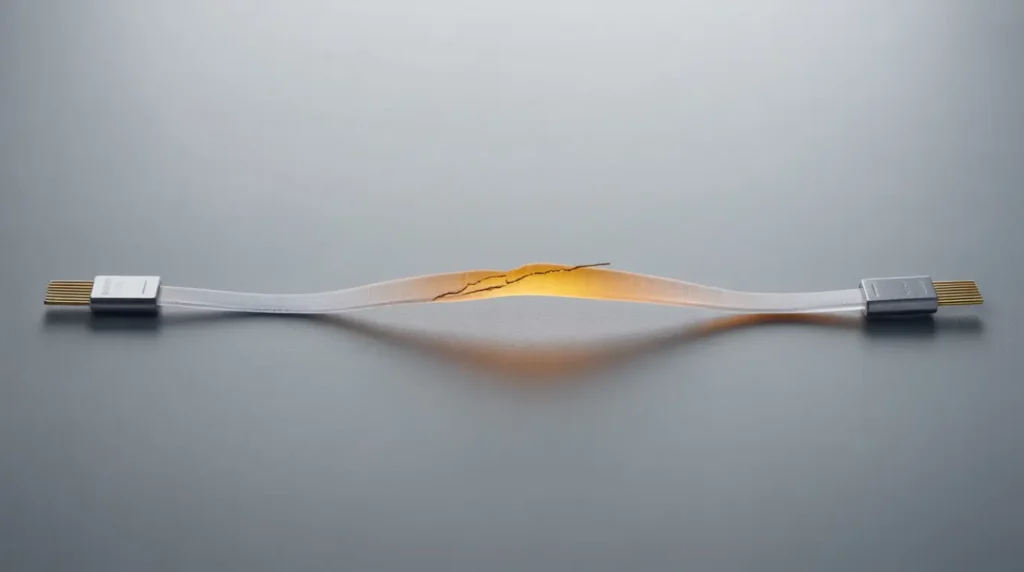
Display cable fatigue (Flexgate)
This is behind the majority of cases seen on 2016–2019 Intel MacBook Pro models. Apple routed the display cable through an extremely tight hinge channel. Every time you open and close the lid, that cable bends slightly. After a year or two of daily use, the cable develops microscopic cracks and starts failing first at the bottom of the screen, then gradually climbing upward over weeks.
Apple officially acknowledged this as a design flaw and created the MacBook Pro Display Backlight Service Program for qualifying models. Many users never check this and pay hundreds out of pocket for something that should be free.Symptom: Lines shift or disappear when you slowly open/close the lid
macOS graphics rendering bug
Several macOS versions shipped with display driver bugs that cause black lines, color banding, or flickering particularly after a major update. These software-caused lines are easy to identify because they show up in screenshots, which hardware problems never do.Symptom: Lines visible when you take a screenshot (Cmd+Shift+3)
GPU or logic board fault
When the graphics processor fails, it stops sending correct output to the display. Unlike cable failure, GPU problems affect both the internal screen and any external monitor you connect. This was a documented issue on some 2013–2014 MacBook Pro models and Apple ran an extended repair program for them.Symptom: Lines appear on external monitor too when connected via HDMI or USB-C
LCD panel damage from heat or impact
Running heavy tasks for hours video rendering, gaming, extended Zoom calls raises internal temperature significantly. Sustained heat causes LCD components to expand unevenly, producing persistent lines that often get worse toward the end of a long session and improve after the machine cools down. A drop or impact that didn’t visibly crack the screen can also disconnect the panel internally.Symptom: Lines worsen during heavy use, improve after cooling down, or appeared right after a drop
Damaged display from travel pressure
This one gets missed constantly. Carrying a MacBook in a packed bag especially without a sleeve puts lateral pressure on the display. Over months this can stress the LCD panel or loosen internal cable connections without any visible outer damage. Users often blame a macOS update when the real cause is the laptop being squashed in a backpack for six months.Symptom: Lines developed gradually over time with no single triggering event
Run These Checks Before Spending Any Money
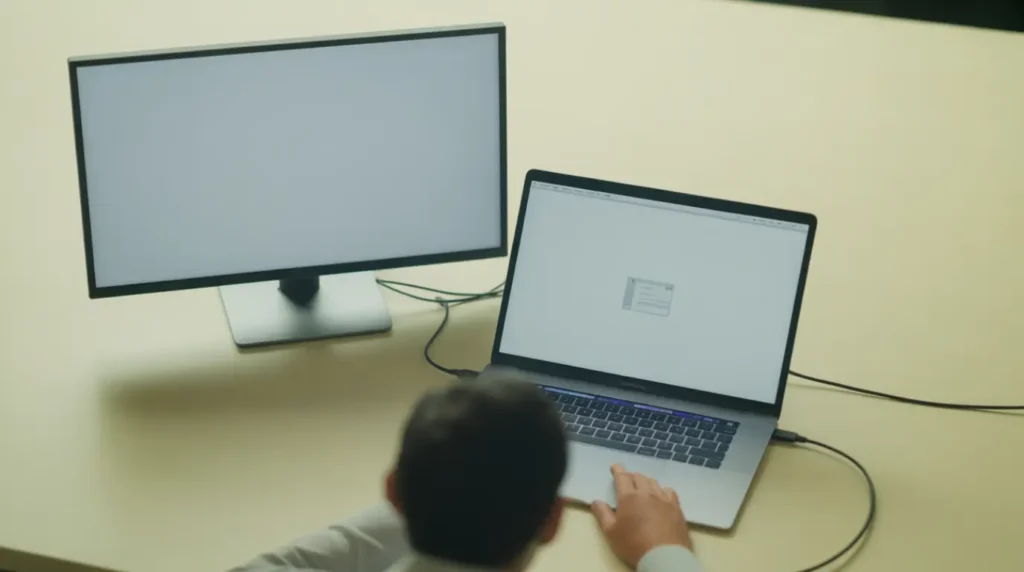
Two minutes of testing will tell you whether this is hardware or software. That single answer changes everything about what you do next.
The screenshot test
Press Cmd + Shift + 3. Open the file in Preview. If the black lines are not in the screenshot, the problem is purely hardware software fixes will do nothing. If the lines are in the screenshot, it’s a graphics or software issue and software fixes have a real chance of working.
The lid angle test
Slowly open and close your MacBook lid while watching the screen. If the lines shift position, temporarily disappear, or change thickness at different angles, you have a Flexgate cable failure. This is the most reliable way to confirm cable damage without opening the device.
The external monitor test
Connect to an external monitor via HDMI or USB-C. If the external screen is clean but your MacBook screen has lines, the problem is in the display assembly — cable or panel. If lines appear on the external monitor too, the GPU or macOS software is responsible.
The brightness test
Turn brightness all the way down to its lowest setting. On Flexgate-affected machines, the lines often disappear completely at very low brightness because the cable still carries enough signal for basic display output. This is a known pattern reported by many repair technicians and confirms cable degradation rather than panel damage.
Fixes Easiest to Most Involved
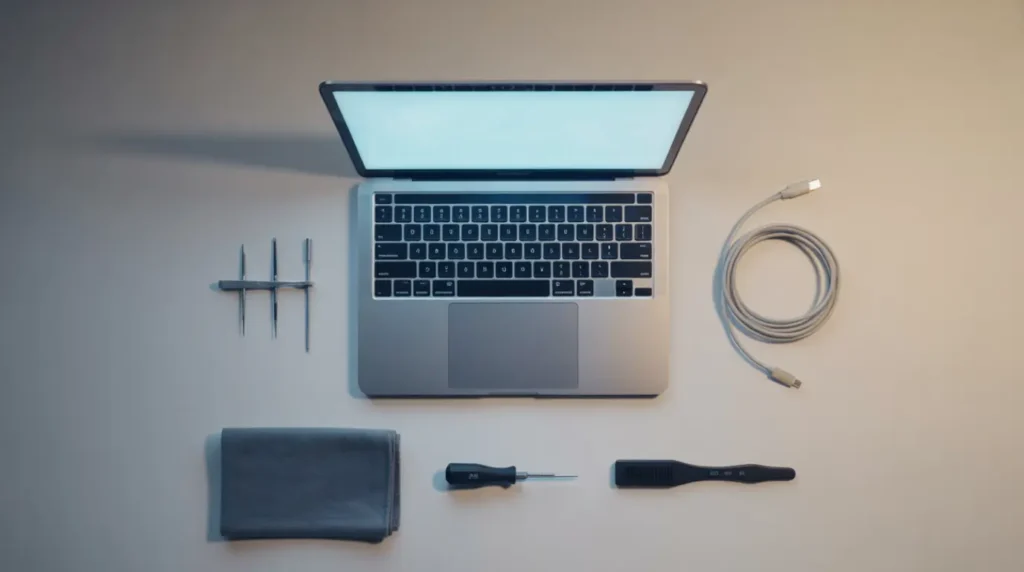
Free
Restart your MacBook
- Click Apple menu → Restart.
- Wait for a full reboot, not just a sleep/wake cycle.
- Watch whether the lines return after the machine warms up for 10–15 minutes.
If lines disappear and stay gone, a temporary software glitch caused them. If they return as the device heats up, the cause is hardware.
Free
Reset NVRAM
- Intel Mac: Shut down. Power on, then immediately hold Option + Command + P + R for 20 seconds until you hear the startup chime a second time.
- Apple Silicon (M1/M2/M3/M4): A standard restart handles this automatically no key combo required.
NVRAM holds display configuration data. Corrupted entries here can produce persistent visual artifacts that clear after a reset.
Free
Reset SMC Intel models only
- Shut down the MacBook completely.
- Hold Shift + Control + Option + Power at the same time for 10 seconds.
- Release all keys, then power on normally.
SMC manages power delivery to the display hardware. Resetting it resolves display artifacts caused by power management issues on Intel models.
Free
Boot into Safe Mode
- Intel: Hold Shift during startup until the login screen appears.
- Apple Silicon: Hold the Power button until startup options appear, then hold Shift and click Continue in Safe Mode.
- Use the MacBook normally for a few minutes and observe whether the lines are present.
Safe Mode loads only essential drivers. Lines that disappear here point to a third-party app or extension as the cause not hardware.
Free
Update macOS
- Go to System Settings → General → Software Update.
- Install any available updates.
- After updating, restart and check whether the lines persist.
Apple patches display driver bugs regularly in point releases. If lines appeared right after a macOS update, check the Apple Support Community for your model a fix often follows within days.
Free check first
Check Apple’s repair programs
- Visit support.apple.com and search your model for active service programs.
- Check your coverage status at checkcoverage.apple.com.
- If your MacBook is a 2016–2019 Intel model, check specifically for the Display Backlight Service Program.
A significant number of users with this exact problem qualify for a free repair and never find out. Always check before paying.
Paid
Professional screen repair or replacement
- If all software fixes fail and no Apple program covers your device, take it to an Apple Store or authorized service provider for a diagnosis.
- For cost comparison, certified third-party shops typically charge 30–40% less than Apple.
- Always request a written warranty on the parts and labor before approving any repair.
Approximate out-of-pocket costs if no program applies: Apple charges $199–$599 depending on model. Third-party certified shops charge $120–$400 for the same repair.
If your MacBook is an M-series model (2020 onward), hardware display failures are rare — exhaust all software options before agreeing to a hardware repair.
When to Stop Troubleshooting and Go Straight to a Repair
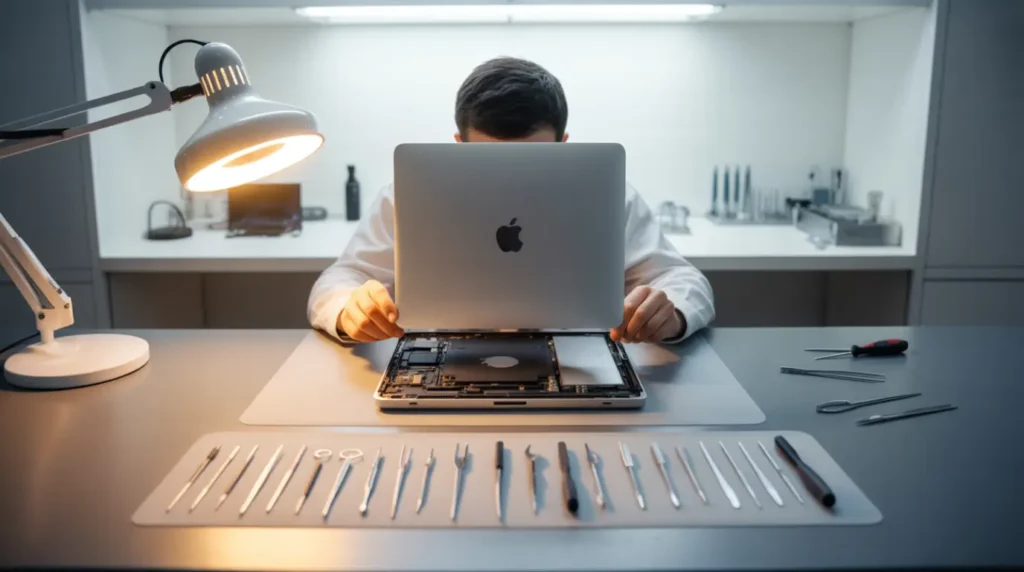
Some signs tell you clearly that no software fix is going to help. If the lines are fixed in position and do not change regardless of lid angle, brightness, or temperature, the LCD panel is likely physically damaged. If lines appeared immediately after a drop, professional assessment is the right first step not a restart.
At a repair shop, a good technician will test with an external display first and run an Apple Diagnostics check. If they skip both of these and immediately quote you a screen replacement, get a second opinion. The actual diagnosis takes ten minutes and costs nothing; shops that skip it often misidentify the cause and replace parts unnecessarily.
AppleCare+ covers accidental display damage for a $99 service fee per incident. If you have AppleCare+ and the damage came from a drop or pressure event, use it the math is straightforward compared to out-of-pocket costs.
Preventing This from Happening Again
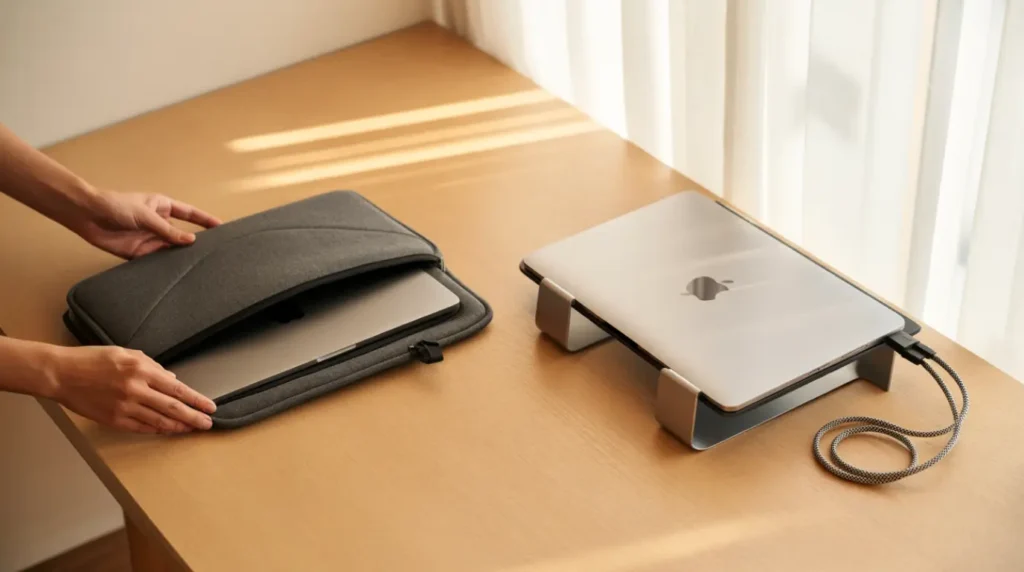
- Always open the lid with one hand supporting the base. Lifting from one corner torques the hinge and stresses the display cable over time.
- Use a padded laptop sleeve whenever you carry it. Bag pressure is a slow, invisible cause of display damage that accumulates over months.
- Keep vents unobstructed. Never use a MacBook on a bed, pillow, or soft surface. Thermal stress accelerates cable degradation faster than almost anything else.
- Stay current on macOS updates. Display driver patches arrive regularly and are silent fixes for known rendering issues.
- Don’t charge overnight with the lid closed in warm environments. Sustained heat during charging while the lid is shut traps heat against the display assembly.
- If you travel frequently, ship in original box or a hard case. Checked-luggage pressure on the display area causes more damage than most users realize.
Frequently Asked Questions

My MacBook was fine yesterday how did this appear overnight?
Cable failures don’t fail all at once. The micro-fractures develop over months of hinge movement, then cross a threshold and become visible. The damage was accumulating long before the line appeared. Some users also report that temperature changes like leaving a MacBook in a cold car overnight can push a marginal cable into visible failure.
Will ignoring the lines eventually damage the rest of the machine?
If the cause is Flexgate, the lines will spread progressively from bottom to top until the screen becomes completely unusable. The underlying machine continues working fine; it’s the display assembly that fails. On newer M-series models where the cause is a software bug, the rest of the system is unaffected and a macOS update typically resolves it.
I tried everything and the lines are still there. Is my data at risk?
Not from the display problem itself. A display cable or LCD panel failure has no effect on the SSD or your files. Connect to an external monitor to continue working while you arrange a repair the machine runs perfectly even with a damaged screen. Back up to Time Machine or an external drive as a precaution before any repair is done.
The lines go away when I press gently on the corner of the screen what does that mean?
This is a classic sign of a loose or partially disconnected display cable, often from travel pressure or a past drop. The pressure is temporarily reseating the connection. It confirms a hardware cable issue not a software problem but it’s not a fix. The connection will continue to loosen until the screen fails entirely, so professional repair is the right call rather than repeatedly pressing on the panel.
Expert verdict

The screenshot test and lid angle test together take less than two minutes and will tell you with near-certainty whether this is software or hardware. Start there. If it’s software, work through the free fixes in order most software-caused cases resolve at the restart or NVRAM step. If it’s hardware and your MacBook is a 2016–2019 Intel model, check Apple’s repair program before spending anything. The majority of MacBook Pro owners with this problem have a device that qualifies for free or reduced-cost repair. The fix exists don’t pay for it twice.
Editor note screendotfix.com
Reviewed for technical accuracy by the screendotfix.com editorial team. All fixes verified against current macOS versions and firmware. Pricing reflects current market rates and may vary by region. This article is updated as new fixes are confirmed. For unresolved issues, visit the Contact page on screen.fix.com.
About the author
James Founder, screendotfix.com
Over 10 years of experience diagnosing display hardware and software issues across all major device brands. All content is written from direct technical experience and hands-on research conducted by the screen.fix.com team. Free fixes are always recommended before any paid repair option.
Disclaimer: The information in this article is provided for educational and troubleshooting purposes only. screen.fix.com is not affiliated with Apple Inc. Repair costs and program eligibility are subject to change always verify directly with Apple or an authorized service provider before making repair decisions. screen.fix.com is not responsible for any damage that occurs during self-troubleshooting.